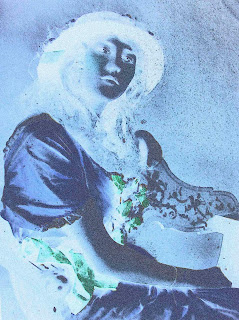
Tutorial #4-Jan 2011-How to Make a Chrome Negative
By: Cynthia Powell
This technique can be applied to a variety of photographs, so play with a few and have some fun!
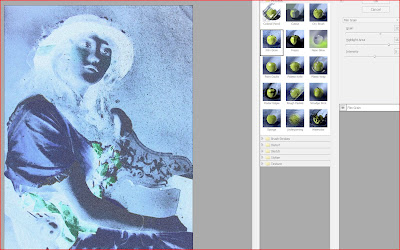
Note: You can click on any of the photos to enlarge them to see the settings I used.
Note: You can click on any of the photos to enlarge them to see the settings I used.

Before After
Step 1: Open your image and make a duplicate. “Control J”
Step 2: Click the new layer icon in the layers panel and fill it with white using the paint bucket. Change the opacity to about 40%. >Layer, >Merge Down.
Step 3: Duplicate this layer-“Control J”
Step 4: We are working on the Background Copy 2. Click filter, >Stylize, >Find Edges
Step 5: Click layer, >Adjustment Layer, >Levels and adjust the "Input Levels" slider to lighten the image. >Layer, >Merge Down.
Step 6: In the layers palette, click the drop down menu for the blending modes and select “Difference”
Step 7: Now Click the Background Copy to activate it and apply an “Overlay” blending Mode with an opacity of 40%.
Step 8: Click and drag the background copy 2 under the background copy
Step 9: Click Layers, >Merge Down and change the opacity again to around 78%. >Layers, >Flatten.
Step 10: Click Filter, >Artistic, >Film Grain Make needed adjustments with the sliders. Save as .jpeg.


